Overview
This is a tutorial on how to add and edit stock images to your inventory.
Adding Dealership Vehicle Images
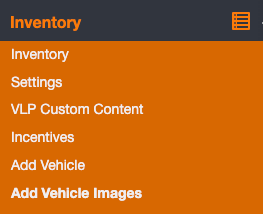
To begin, access the backend of your website. Once logged in, access the “Add Vehicle Images” menu item under the “Inventory” dropdown.
You will see a list of pre-existing items. The list will be blank if no items have been added.
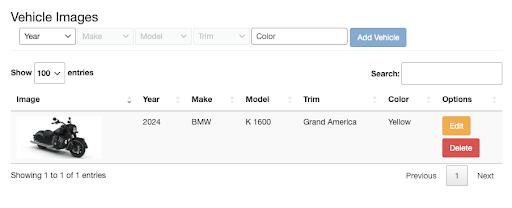
To add a unit, select the “Year”, “Make”, and “Model” to select the unit of your choice. The trim field is optional; not all units have trims. A color is also required to add an unit. Once the required fields are selected, click “Add Vehicle”.

Once the vehicle is added use the buttons below to add images to the vehicle. Images for all vehicles without images in inventory that match the year make model trim color will be updated within the hour.

Editing an unit
Once an unit has been created, or a pre-existing unit is being edited after clicking on the “Edit” button, you will be on the page to update the color and to edit images.
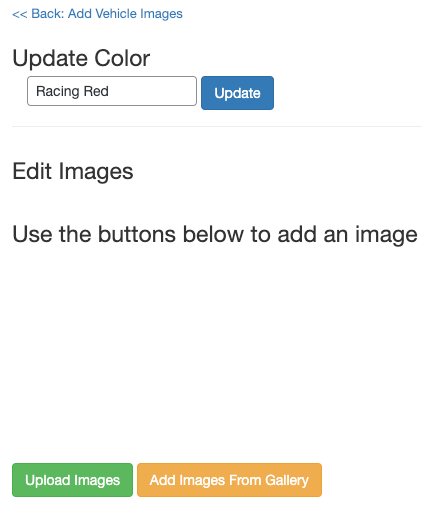
To update the color, simply type in the new color of your choice and press “Update”.
To upload images, select “Upload Images” which will present a popup to do so.
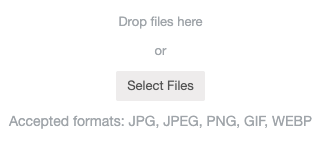
You can click on “Select Files” to select images of your choice. You can also drag and drop files. Click the green “Upload” button to upload images.

You can also select images uploaded to the website by clicking on “Add Images From Gallery”. The WordPress Gallery will pop up. Select an image(s) to upload.
Once uploaded, the images will appear:
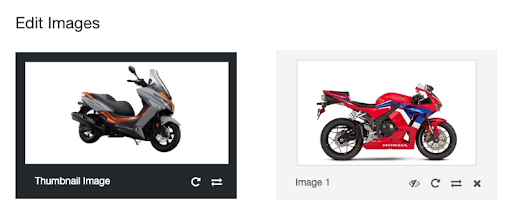
The first image will be highlighted as the main thumbnail image. You can drag and drop images to sort the order. Press the crossed-out eye to hide an image (and click the clear eye to reveal it). You can press the circling arrow to rotate the image. The two arrows flip the image. To delete an image, press the X.
Was this helpful?
0 / 0